
I wanted to build a drumset trailer for my bike so I researched a few companies. After a cursory search of prefabricated trailers, I decided to buy a trailer kit from WIKE bike trailers. It was $150. The aluminum I had to buy to make the frame was $130. The wood was $30. All the hardware cost less than $50. For about $360 I could build a custom trailer for my drumset. In comparison, a BOB Yak bike trailer cost $330 and would not hold my whole kit.
Special thanks to Dodgeville for providing a great tutorial that was used as a reference.
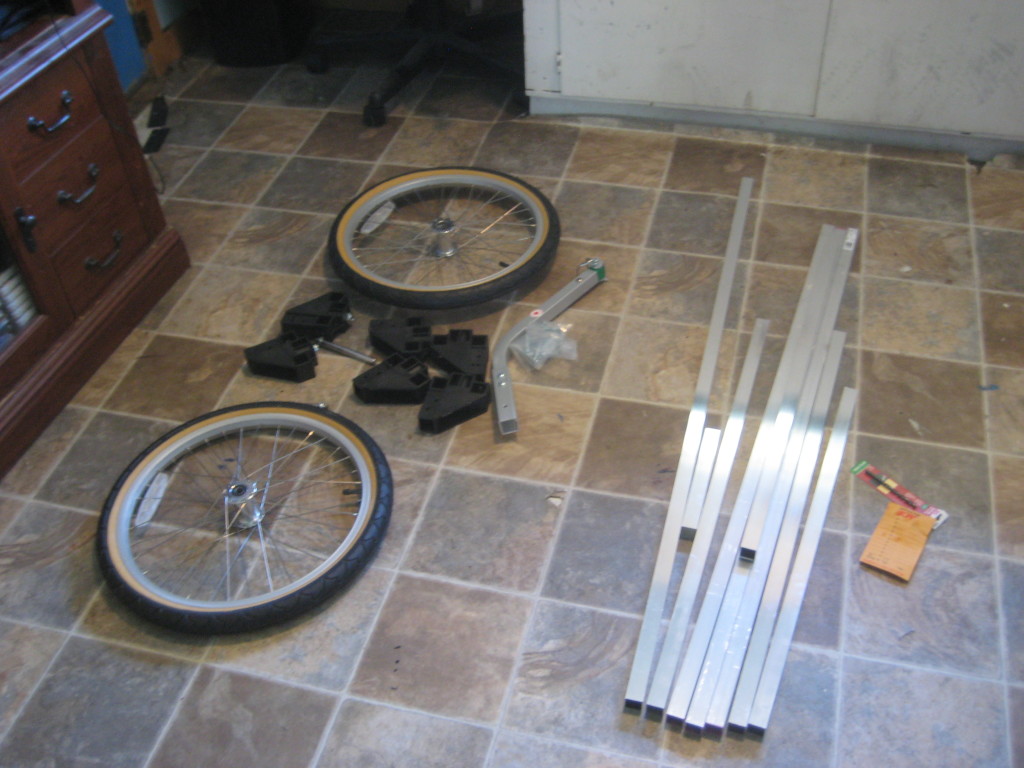
Left side – trailer kit / Right side – square aluminum tubing from hardware store
In the trailer kit came two wheels, six brackets, an attachment arm, and a bag of hardware. The directions were brief but the kit was somewhat self-explanatory once I started piecing things together.
I bought the aluminum framing from the local hardware store along with a 1/4″ metal drill bit and some self tapping screws. They cut the aluminum for me at the store and I carried it home on my bike. All aspects of the project were completed by bike transportation.
I would be back to visit the hardware store a couple more times throughout the project. My first mistake was not buying any pilot bits. When drilling anything remotely precise, pilot holes are essential.
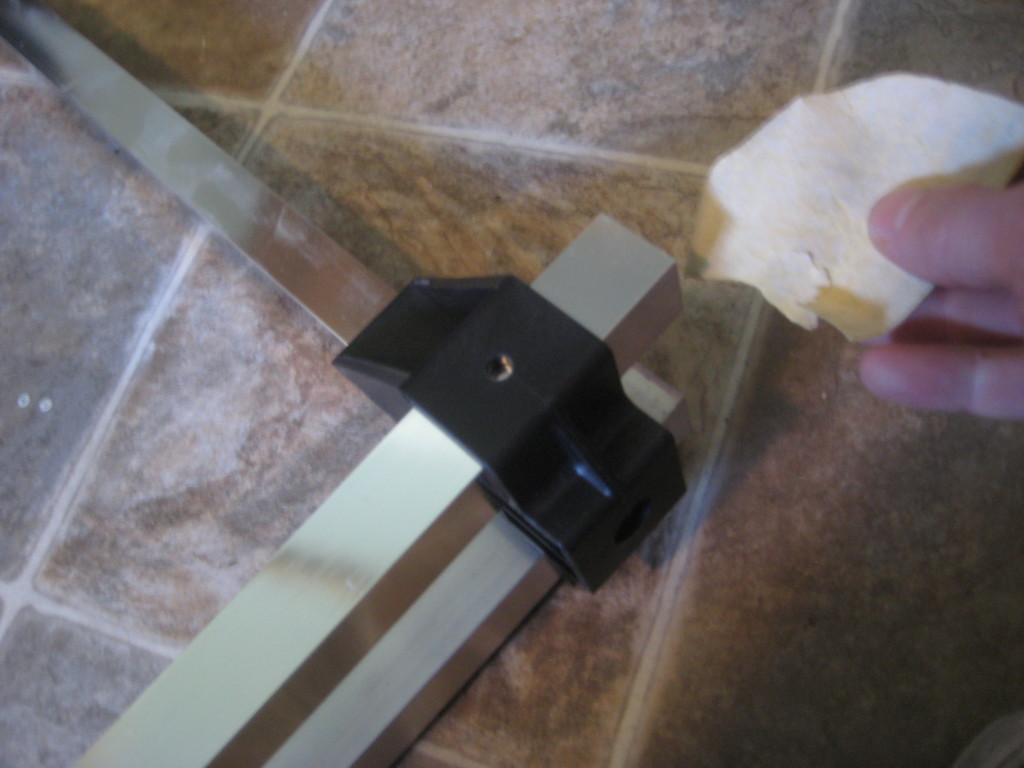
sanding the edges of the aluminum
I pieced together the frame with a dry fit to get a feel for the shape and size of the trailer. I sanded the edges of the aluminum so that they slid into the brackets with ease and didn’t cut me.
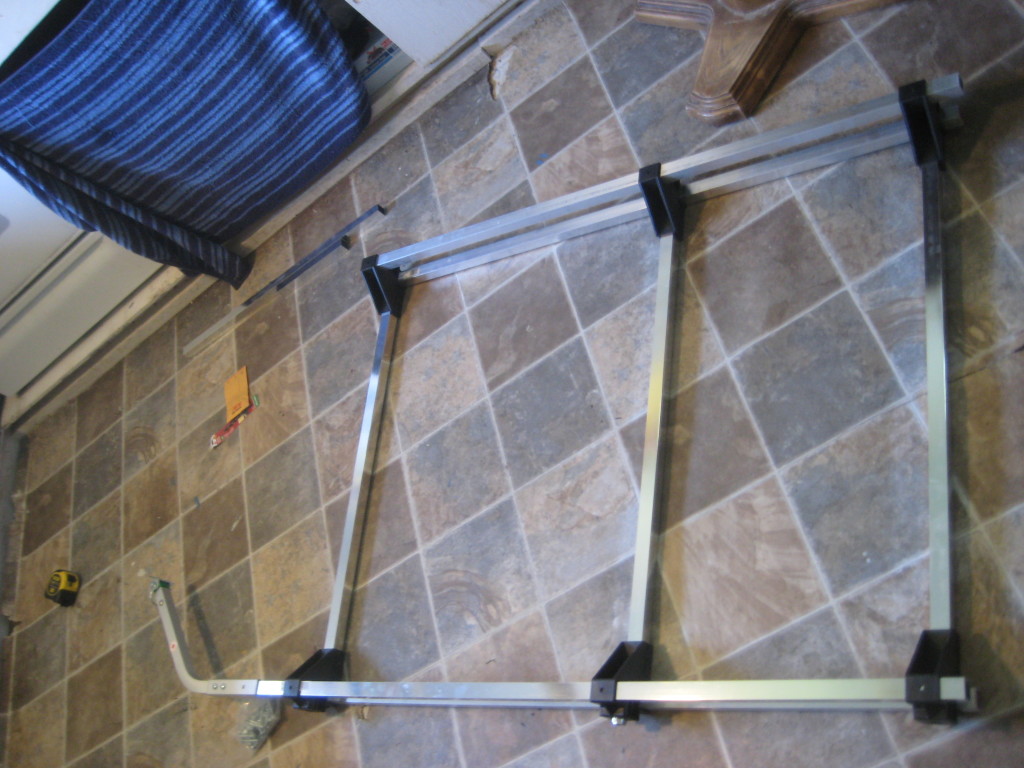
dryfit
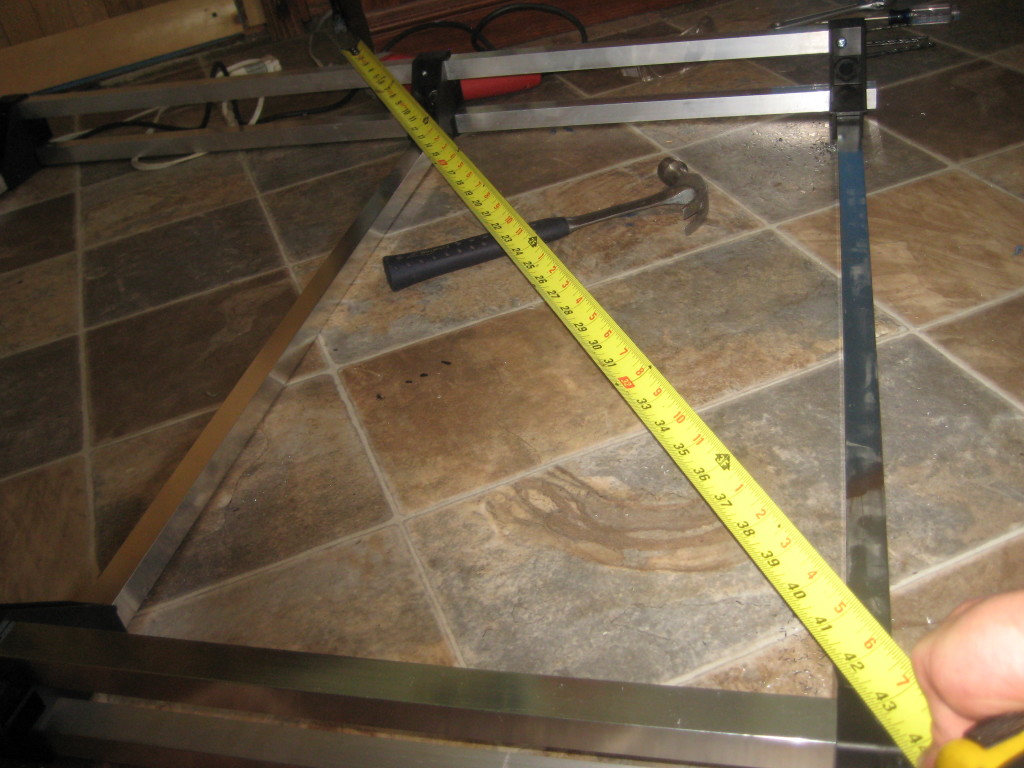
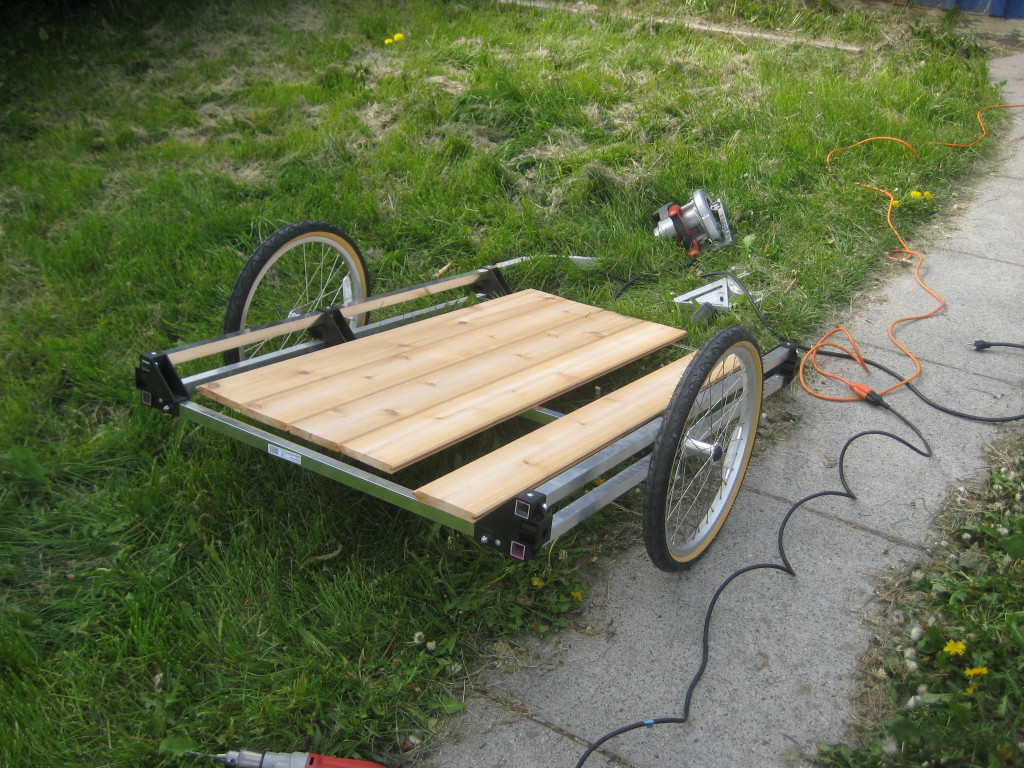
The trailer was to be 4 feet long and 3 feet wide. This would hold my drumkit in its cases.
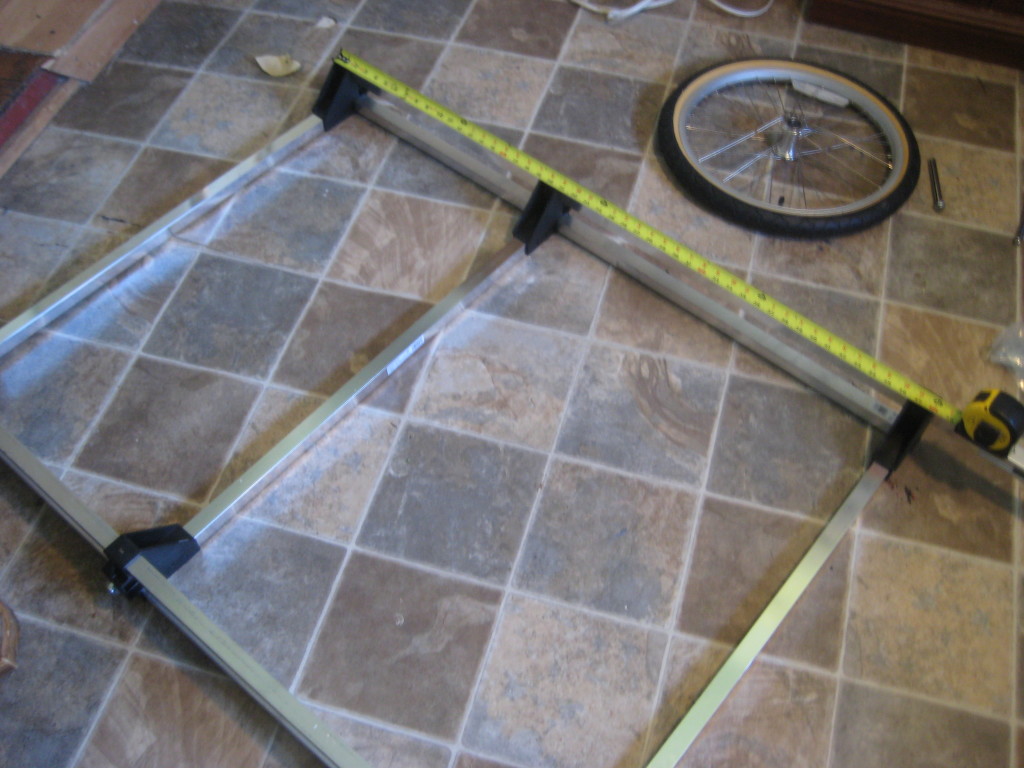
measuring the wheelbase
I put the wheelbase about 20 inches from the rear. I don’t have any formal engineering education so these types of decisions were made on the cuff. I figured you would want the wheels toward the rear for balance, but not so far that it would tip forward if needing to load the front of the trailer with anything heavy.

dryfitting the control arm
The instructions said to make the control arm section 8″-10″ longer but after reading Dodgeville’s tutorial I went with 5″.
What I noticed right away with the dryfit was that the back wheel of the bike was not on center because of the width of the trailer. Upon testing I found out it doesn’t seem to affect the balance much.
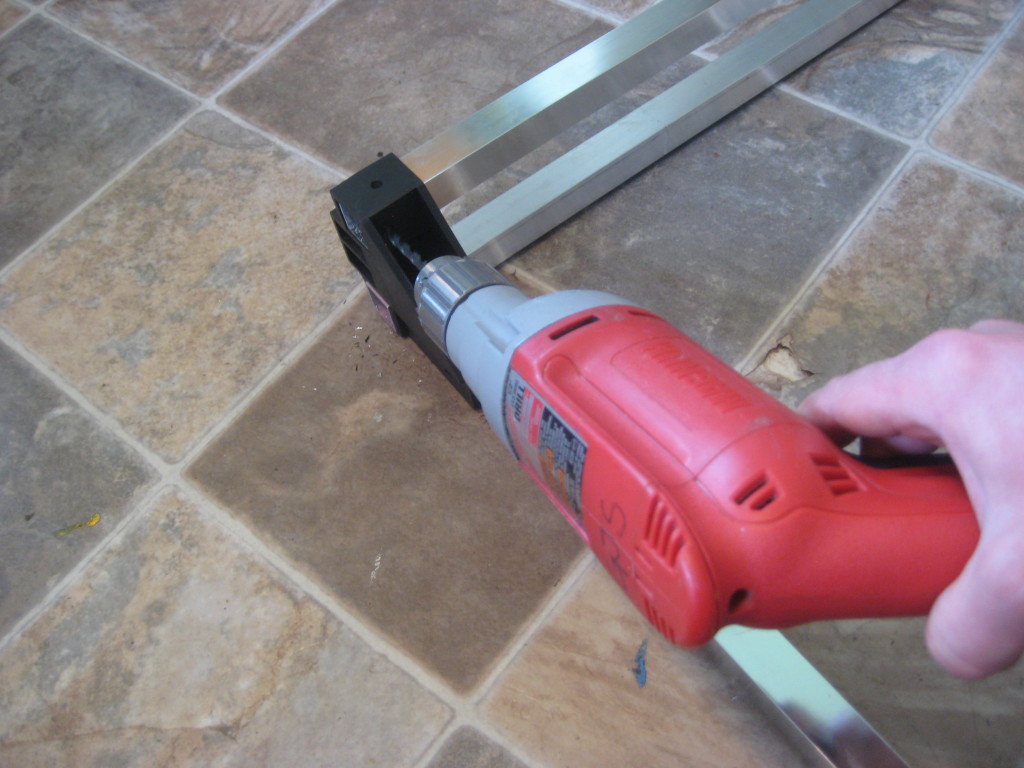
drilling the connection points
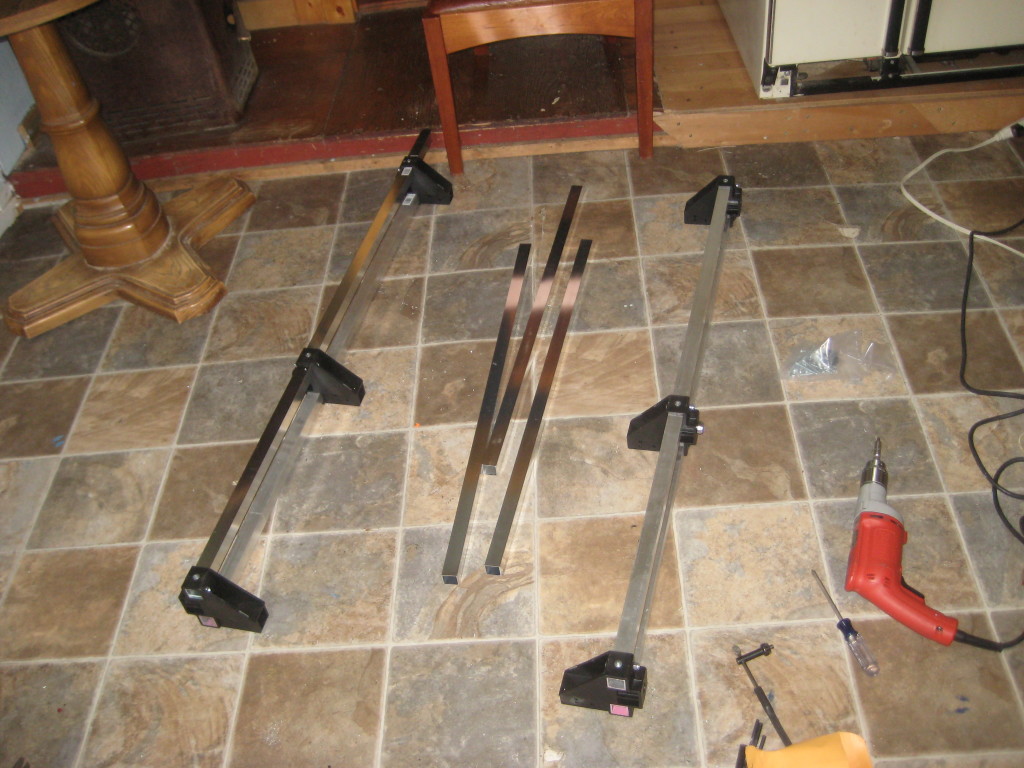
The brackets had pre-drilled holes in them but most happened to be not quite straight. Fortunately, the plastic was really forgiving so it held strong and square.
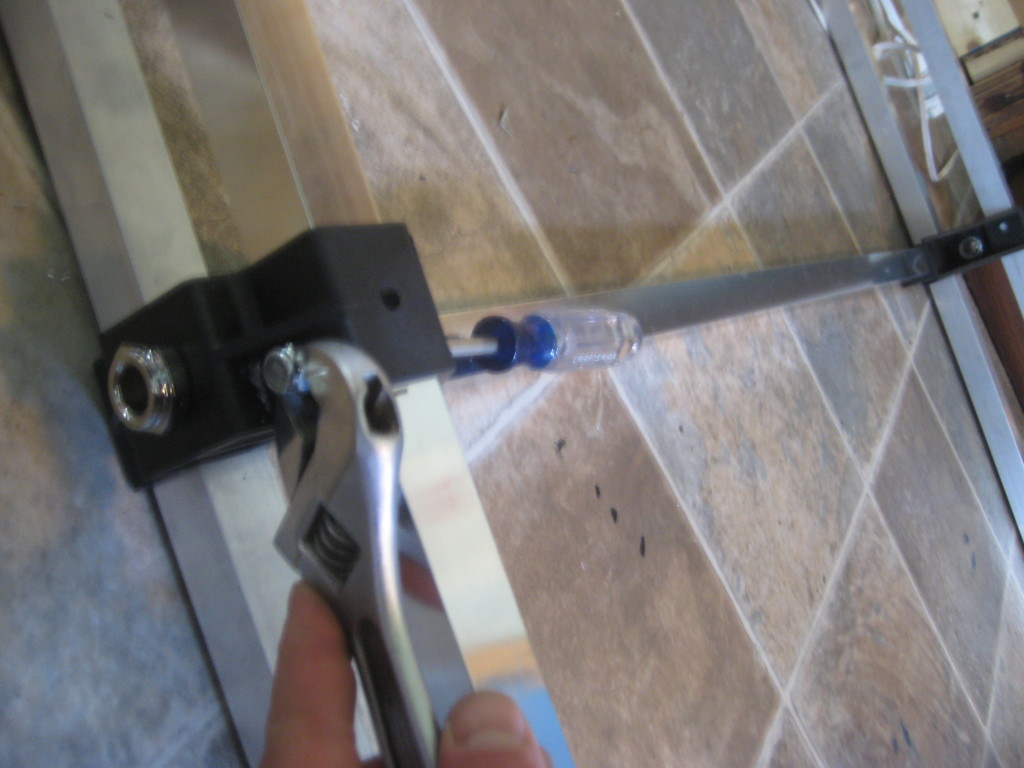
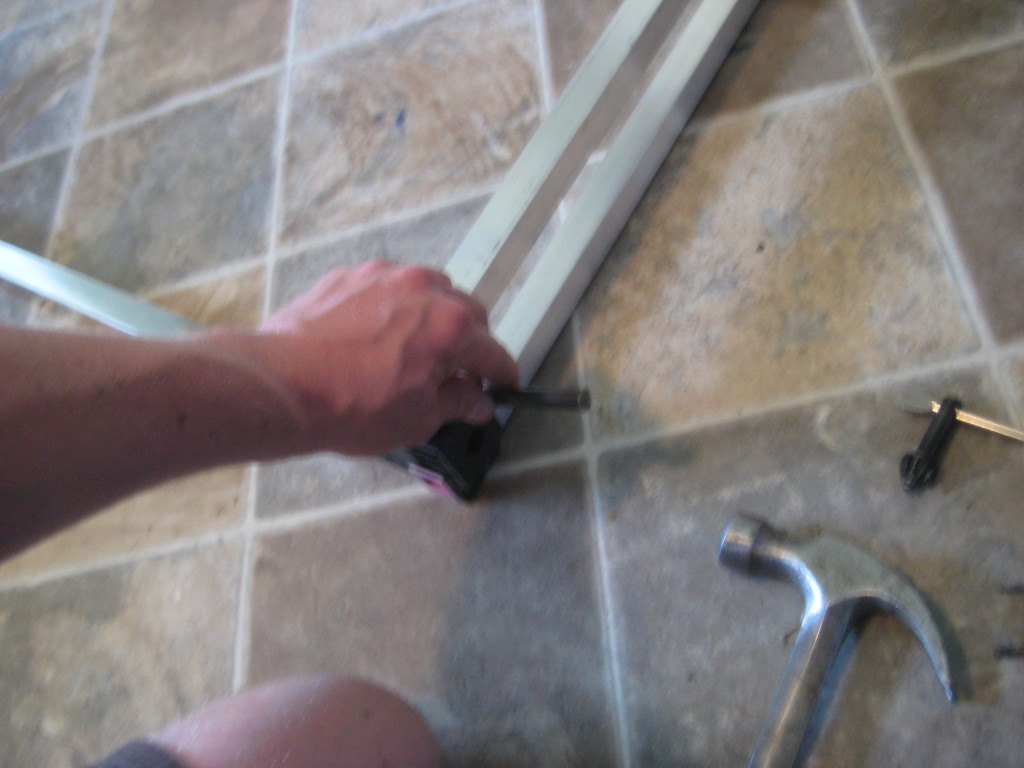
I drilled the holes then fastened them with the bolts provided. After bolting the frame together, I used self tapping screws to reinforce the connection. This part of the project took the longest: about 2 hours of careful working.
connections
I used a simple wrench and screwdriver for the bolts.
center punching for the drill
The drill bit kept slipping around on the aluminum when I was drilling so I used a centerpunch. I had one of these from metalsmithing class, but I’m sure you could buy one at the hardware store or craft store.
squaring the edges
I was amazed that everything came out completely square the first time. I tried to be as accurate with my drilling especially with the axle section.
sides of the trailer frame complete

Whole frame complete, just needs to be attached to control arm
I did a quick dry fit with the control arm. Then I drilled the connection hole and I was in business. It was off to the lumber yard to get materials for the floor. The yard was right down the street so I took the trailer.
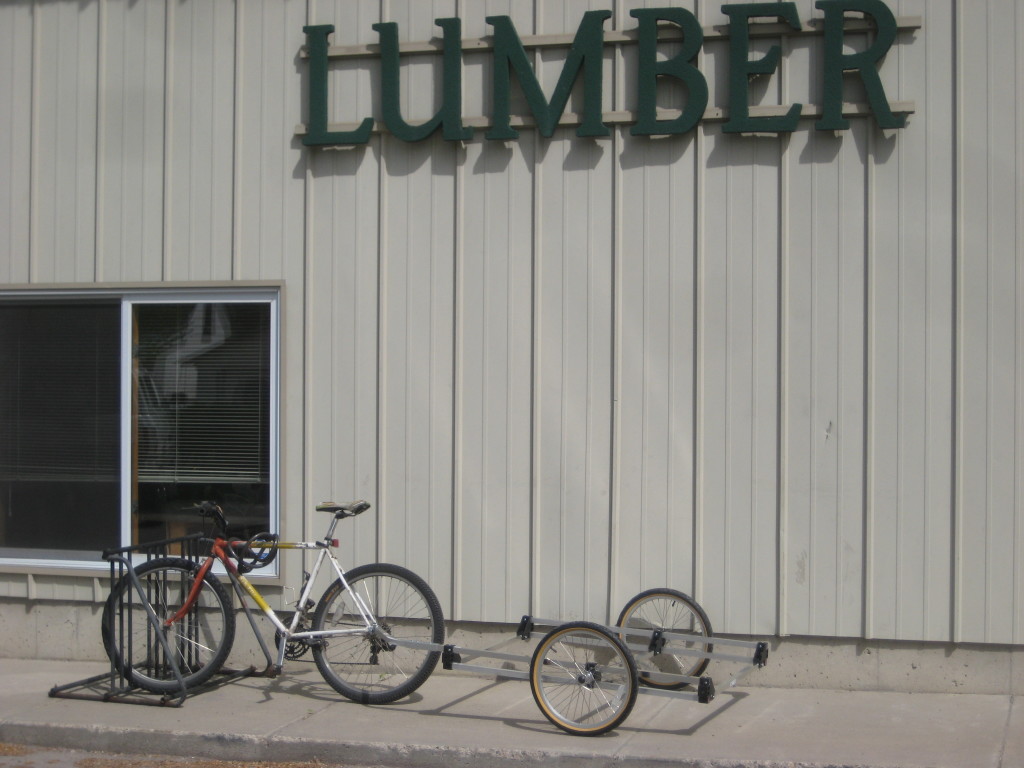
at the lumber yard with the trailer frame
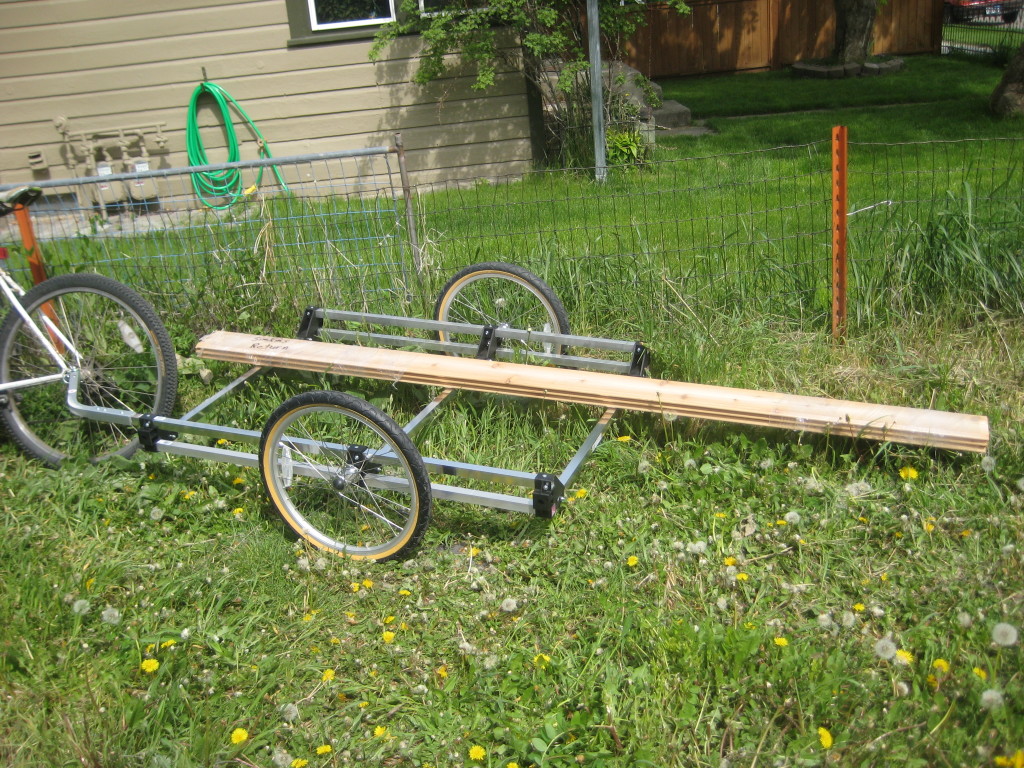
I went with 1-by cedar tongue and groove for the floor, which was about 3/4″ thick. I bought three 8 foot sections, which would get chopped in half to 4 foot sections.
first payload
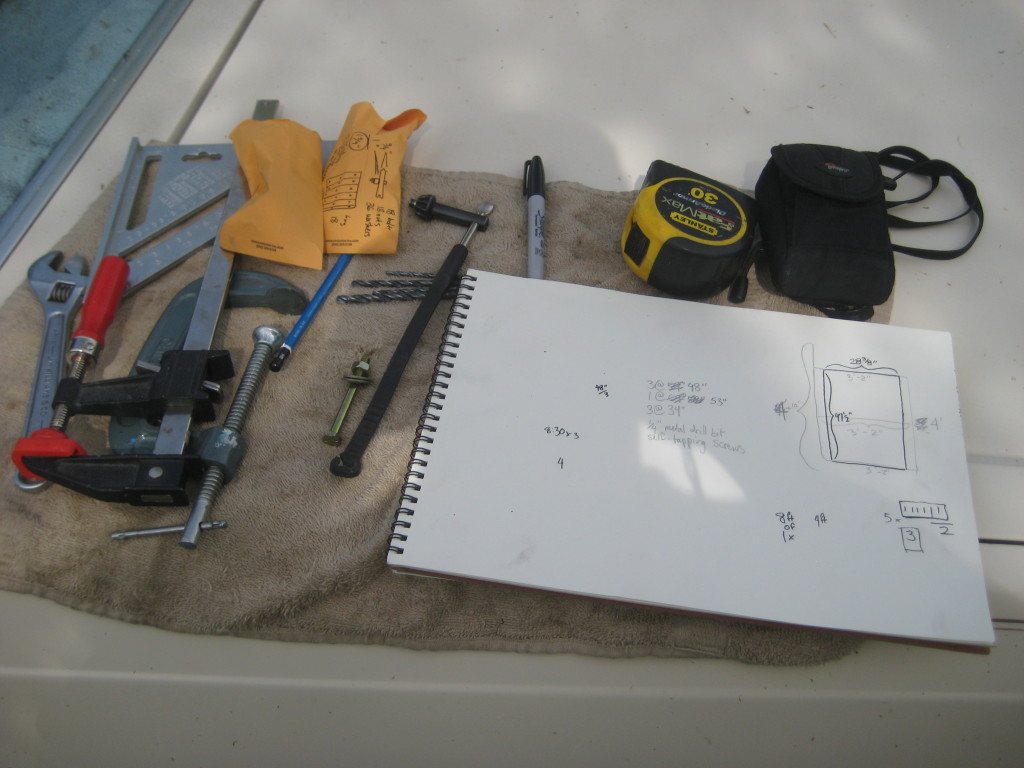
notes and materials for the trailer floor
fitting the flooring to the frame
I used brass bolts with washers to fit the wood floor to the aluminum frame. I used three bolts per section. One attached to the back crossbar, one to the axle and one to the front crossbar. Many more pilot holes were drilled.
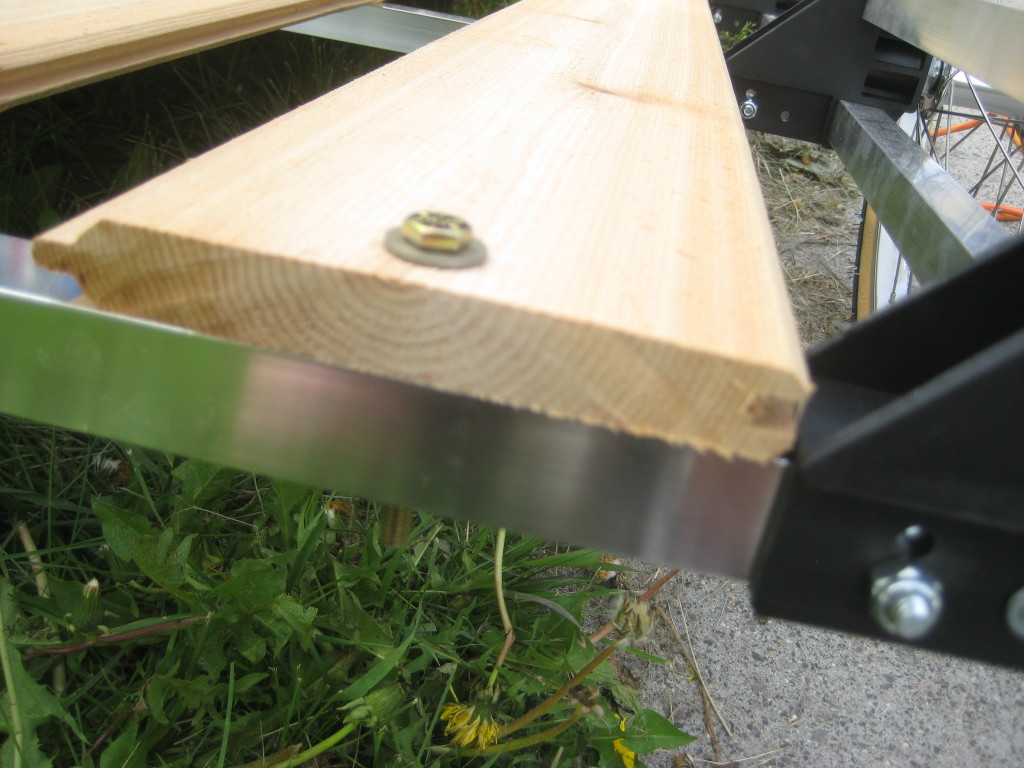
bolts for floor
I had to rip one of the boards down to make it fit. This was done with a skillsaw but ideally I would have used a table saw for a perfectly straight cut.
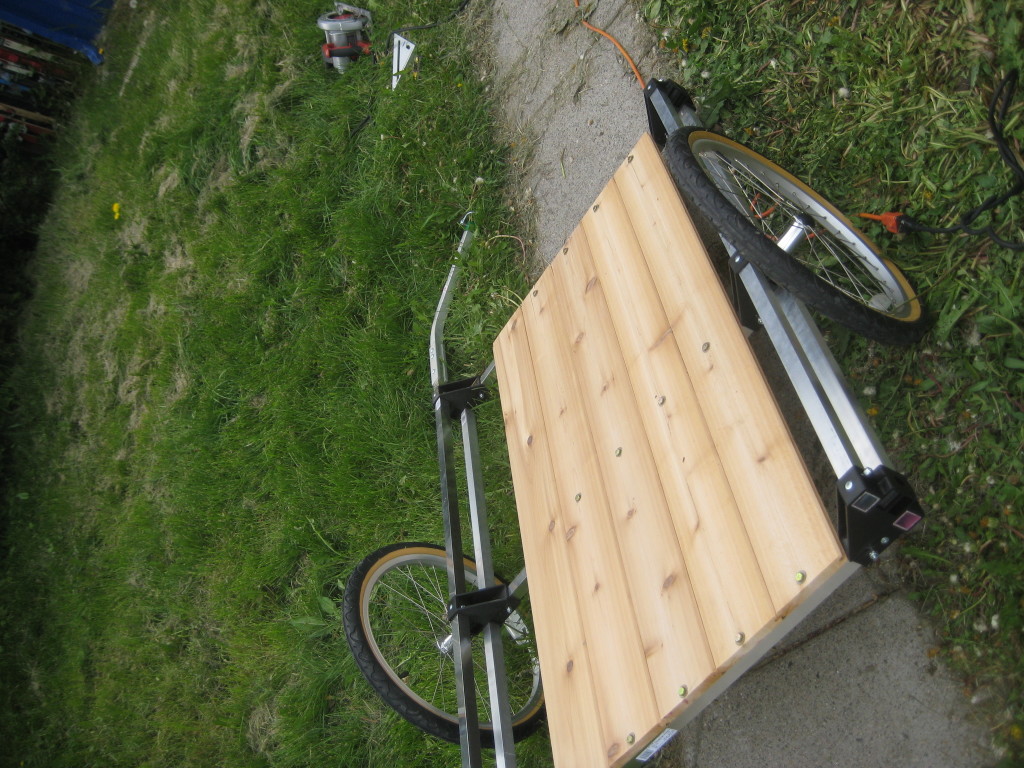
floor almost complete
Clamping the boards down helped with accuracy of placement.
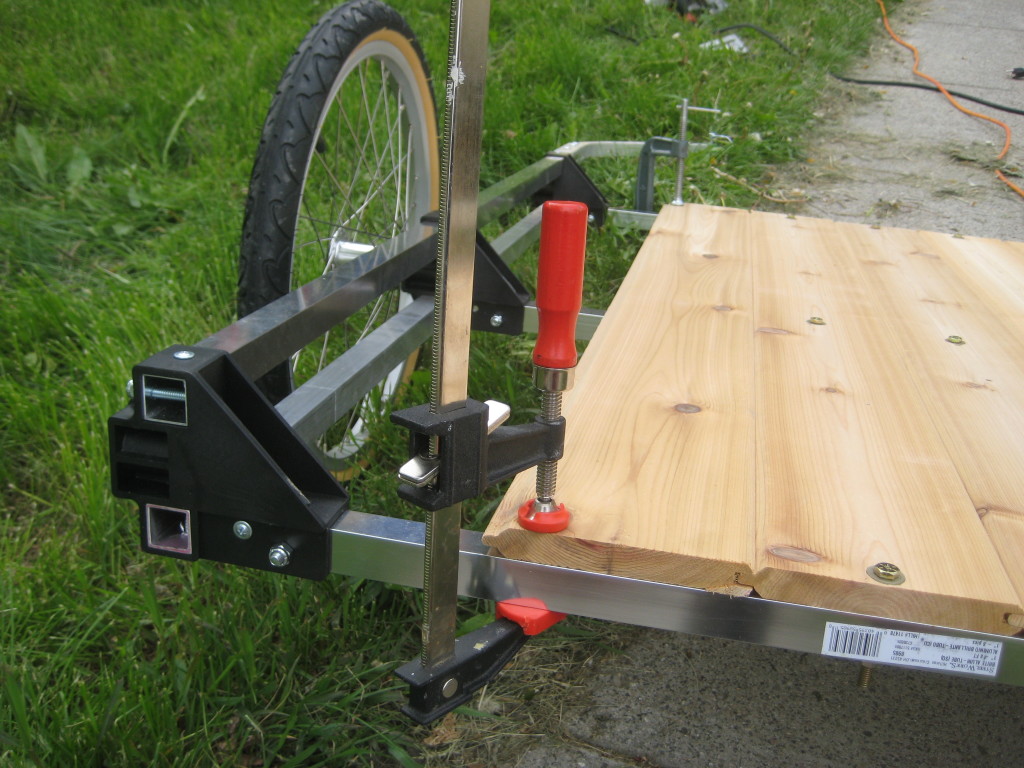
clamping the floor
I completed the project with enough time to give it a test run.
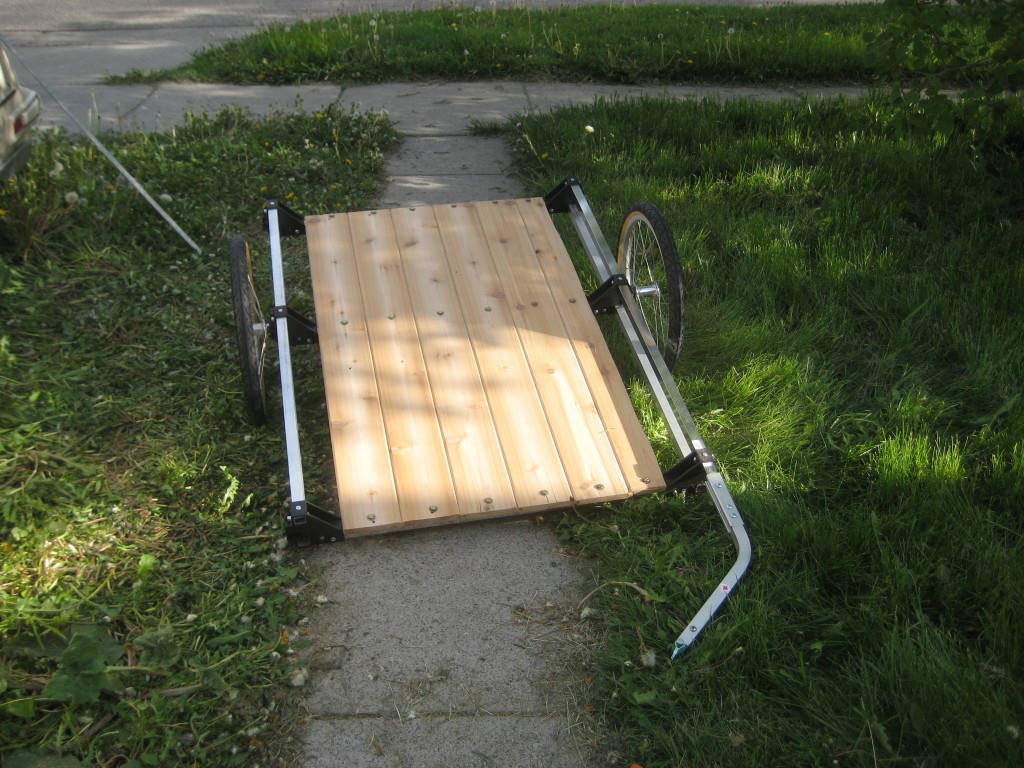
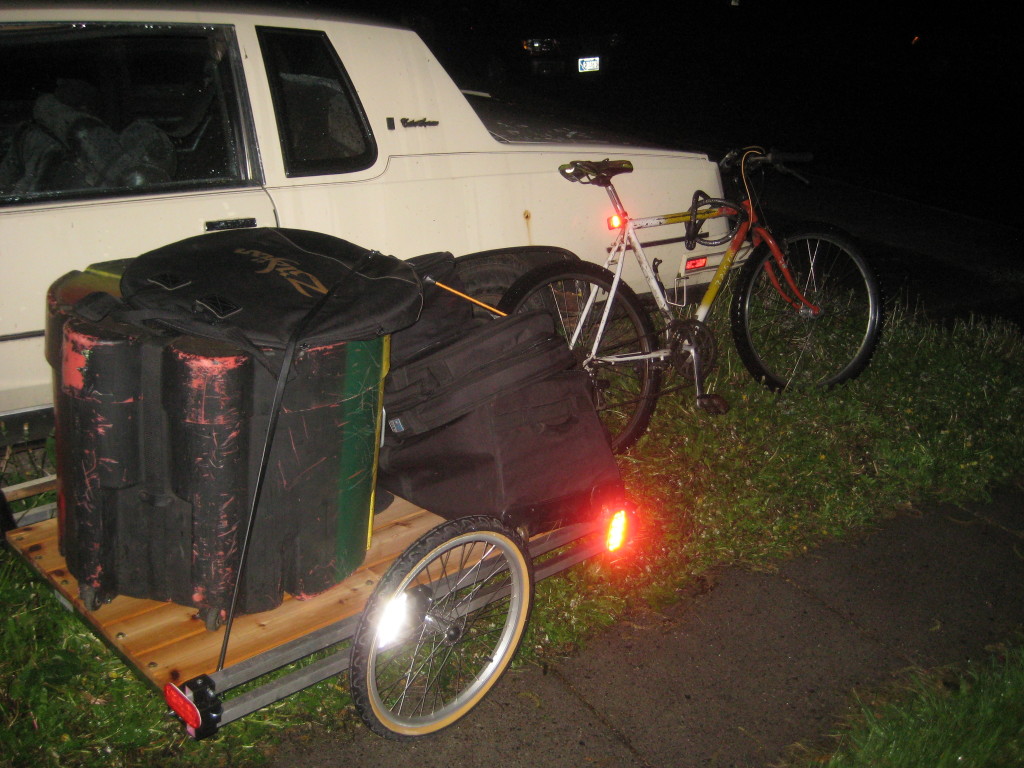
complete trailer
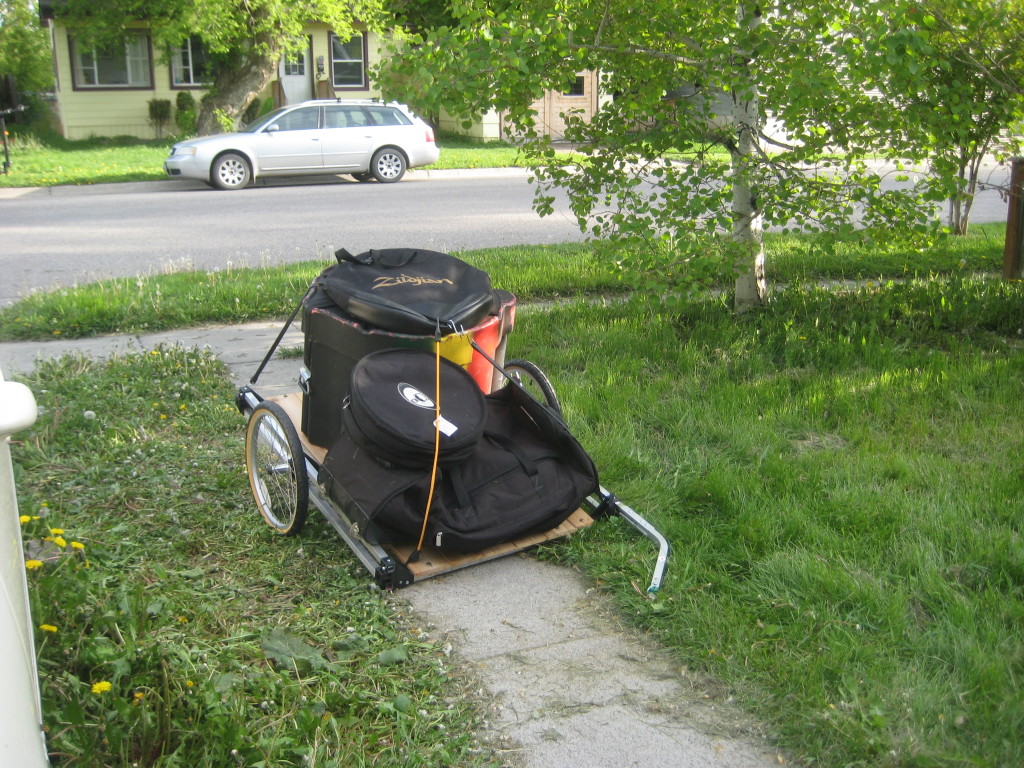
fully loaded and ready to roll
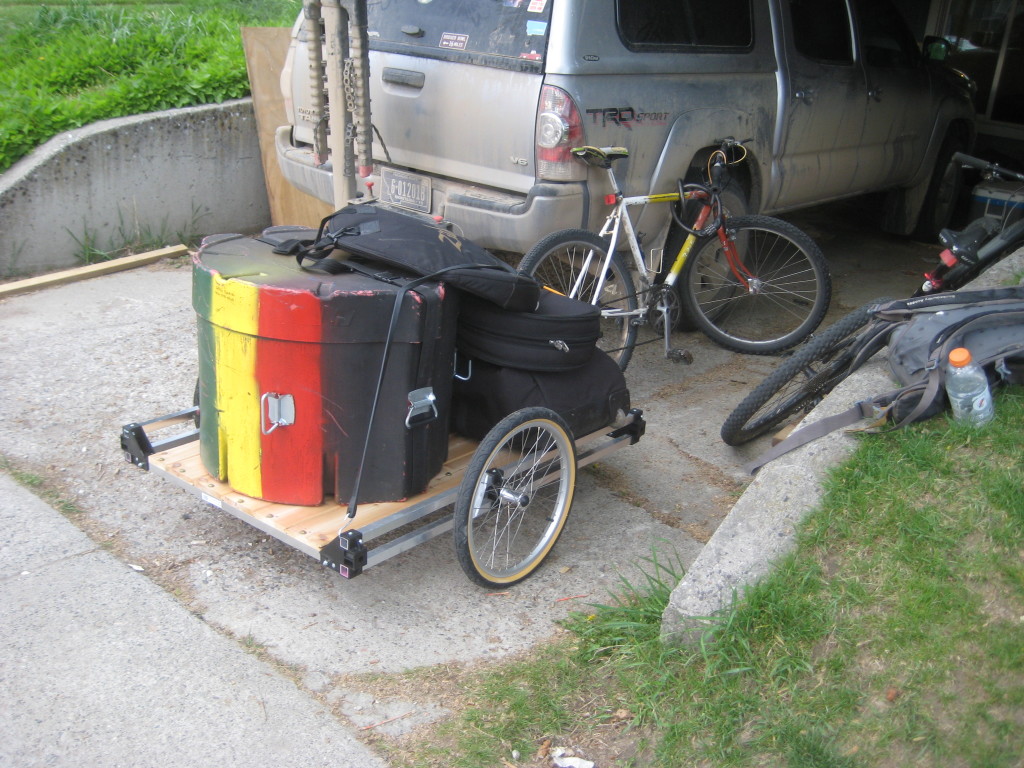
attached to the bike after its test run across town
reflectors until I can get some lights
The bar we play on a weekly basis is only 4 blocks away so the trailer is more efficient than a car in this case. I don’t have to load anything high up into a truck bed, no gasoline is burned, I get queued to the front of traffic lights, and I can roll right up to the load-in area.
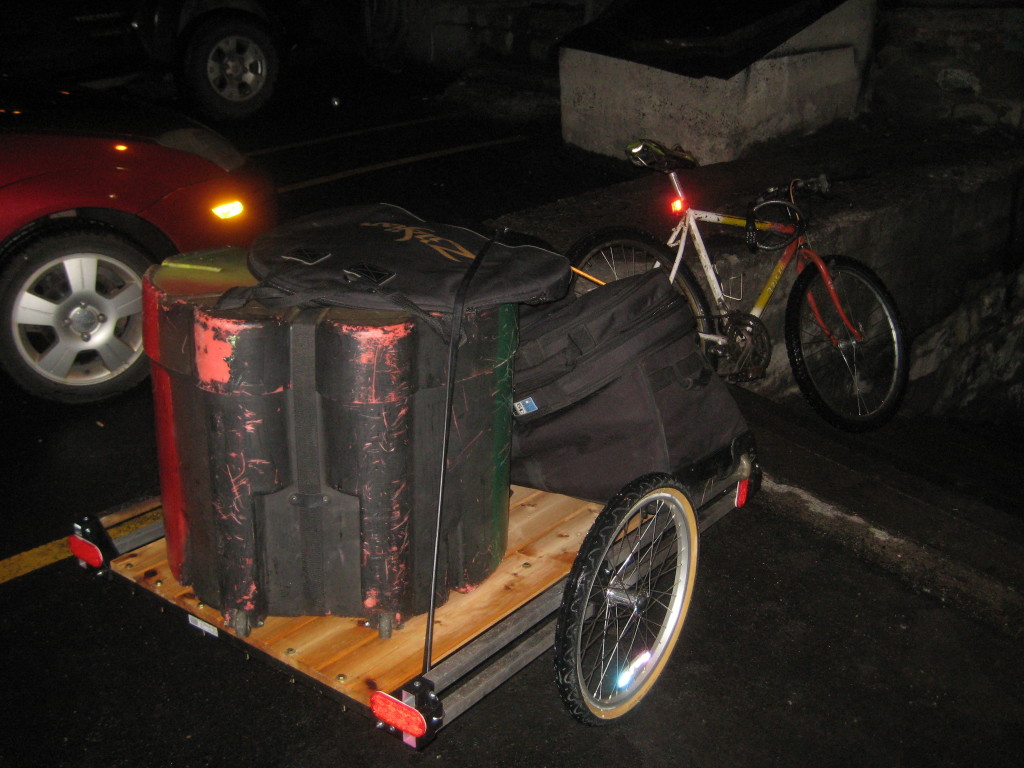
ready to go to its first gig
I kept the drums in place using a few strategically placed bungee cords.
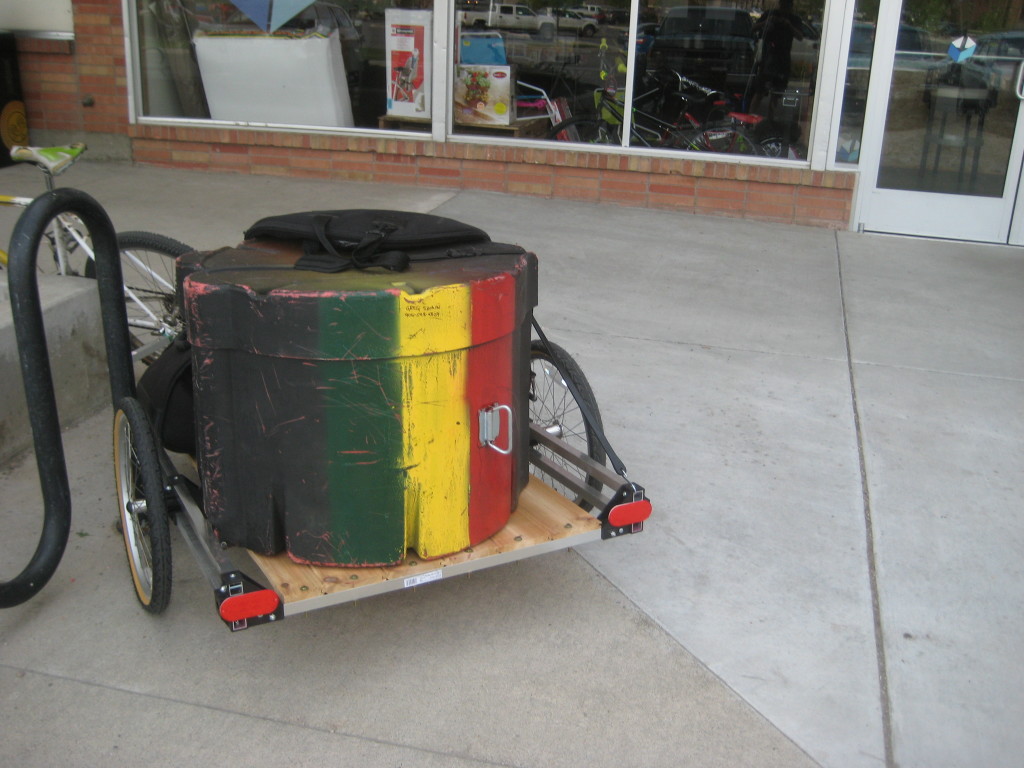
at the gig
Modifications I made to my set: I only brought one tom to the first gig because I was worried about weight. However, the following night we played a show and I was able to fit two toms on the trailer without issues. Usually I play with a hihat, snare, bass drum, one crash, sometimes a ride, two rack toms and sometimes a floor tom. With the trailer I get: hihat, snare, bass drum, crash, and two rack toms
Instead of a boom cymbal stand, I went with a lighter straight stand and omitted the ride as I am fine with riding on my crash. I went with my old lightweight snare stand instead of a pearl stand. Other than that, it’s the full kit I always use.
The next night it rained for most of the night so I bought a tarp and it worked out fine. I will attach some eyelets to the trailer for bungee attachments and eventually use a cargo net to keep everything tight. Thanks for reading!

using the trailer in the rain